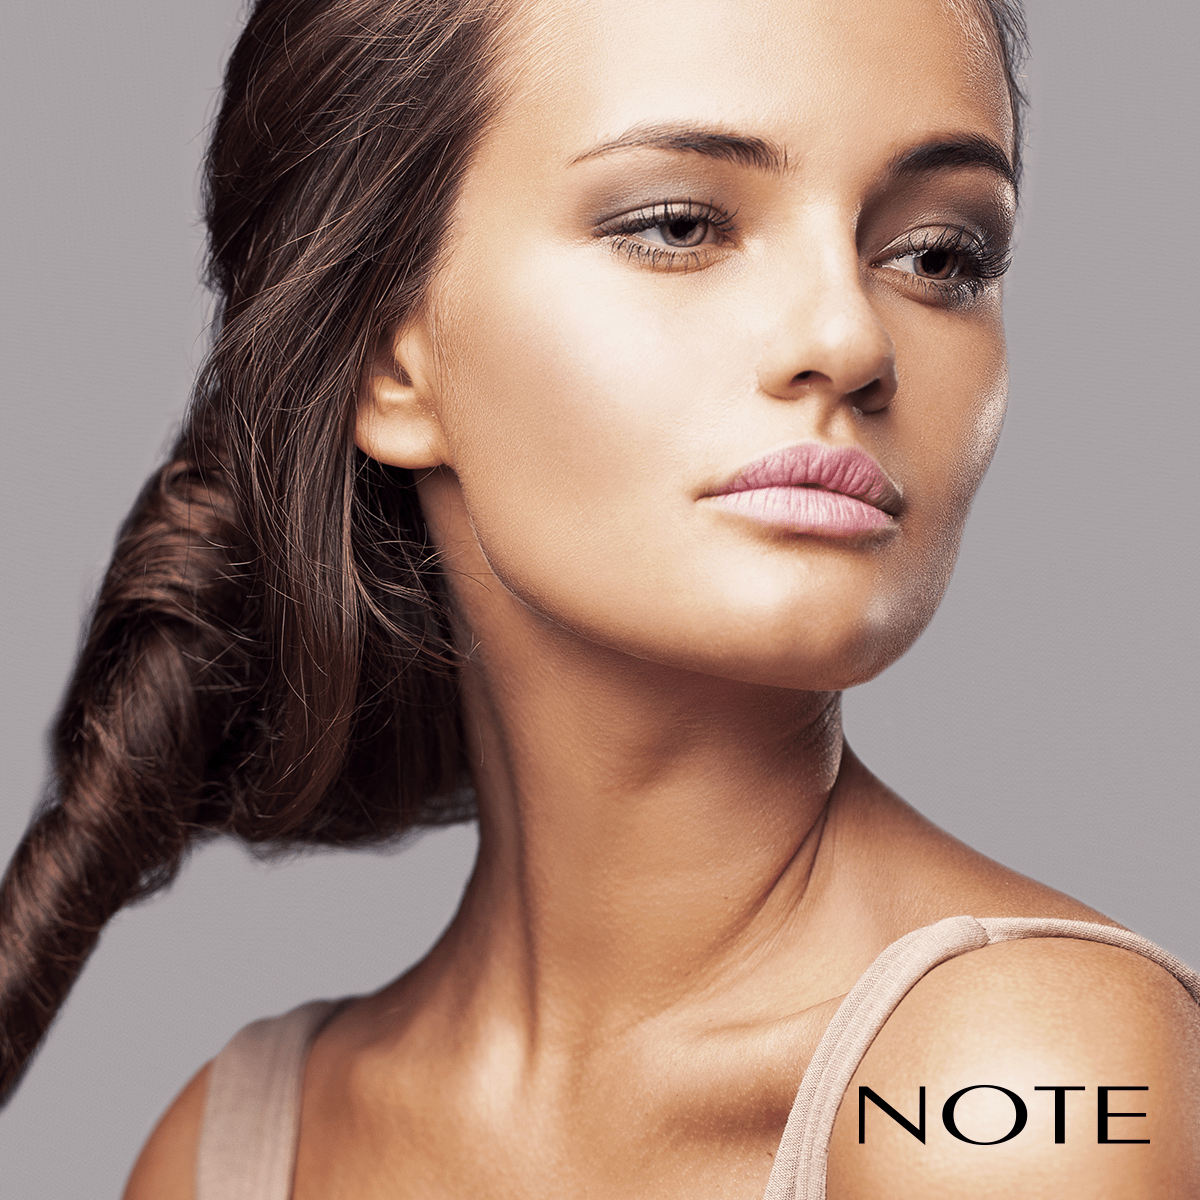
Dark Circles No More
•Posted on July 19 2017

So you know the type of concealer that suits your skin type. Now what? The technique remains the same for whichever concealer you are using. The first important step is that one, light layer of moisturiser before you even touch your concealer.

When we talk about foundations, some like to conceal first then dab on their foundation, while others starts with the foundation. Either ways it will result flawlessly. Powders, however, are slightly tricky and the concealers have to go first - unless you want a cakey outcome.
Go away dark circles!
The most vexing beauty concern - dark circles. Its common, more over with the lack of sleep the majority of us are having. Not to mention the amount of stress from work and school. Fret not, we have laid out 3 simple steps to cover dark circles.
Step 1: Choose the right shade
We cannot emphasise how crucial this step is. Go one shade lighter than your skin to a dash on life on those dark circles. Consult the makeup artists to help you find the right lighter shade. An orangey concealer will help those dark circles that has a a gredyish or blueish hue.

Step 2: Do the dab (delicately)
Use your concealer brush/beauty blenders/powder brush (we sell these in-stores!! Go check them out) or your ring finger to subtly dab the concealer only at the darkest part of the circle, starting from the bridge of your nose. Lightly follow along the line of the blue area around your eye.
Step 3: Press and Blend Out
When you try to apply over the entire area, you tend to slob more concealers because the line of the dark circle stand out more. Watch out! You might end up highlighting the creases and wrinkling your eyes instead. Keep going delicately, finish your touches by softening any edges up and outwards.
Here's another tip:

And that's all to it. Try and let us know if it works for you!
Comments
0 Comments
Leave a Comment